It’s officially release week for iOS 11 (Tuesday, September 19, 2017, was the official release day), and I wanted to pass along a few important facts and tips for those Apple iPad and iPhone folks who are thinking of upgrading.
BTW… Now that the new iOS is officially here, I can finish my completely revised and reorganized “Using Your iPad & iPhone” book, which will be available for purchase in the next few weeks.
What Devices Can Run iOS 11?
Whenever Apple releases a new iOS version, certain older Apple devices are left behind, mainly because they don’t have the proper “hardware” to support the new operating system.
In the case of iOS 11, here are the Apple devices that ARE supported:
- iPhone 5s
- iPhone SE
- iPhone 6/6 Plus
- iPhone 6s/6s Plus
- iPhone 7/7 Plus
- iPad Air
- iPad Air 2
- iPad Pro
- iPad mini 2
- iPad mini 3
- iPad mini 4
- iPod touch 6
So as you can see, older devices such as the iPhone 5, iPhone 5c, and iPad 4 are no longer supported.
This many sound funny, but if for some reason you’re not sure WHICH Apple device version you have (and I run into a lot of students where this is the case), Apple doesn’t exactly make it easy for you to find out (i.e. they don’t print the device model number on the outside anywhere).
- For iPad users, CLICK HERE To visit an Apple Support page that helps you identify your model.
- For iPhone users, CLICK HERE to visit an Apple Support page that helps you identify your model.
Getting Ready to Upgrade
Before you take the leap and update your device, keep in mind that it’s not always wise to be on the “bleeding edge” of technology. It’s not uncommon for the first versions of a big iOS upgrade, such as iOS 11.0, to have bugs that Apple fixes with quick, smaller updates.
For this reason, you might want to wait a few days or even weeks, just to avoid potential “new upgrade” problems, and upgrade once you hear that things are going OK.
But if you do decide to upgrade, here are a few things you should do to get your device ready.
- Make a backup – just to be safe, you should make a complete backup of your device. My favorite way to do this is by connecting your iPhone or iPad to a computer (either Windows PC or Mac) that has Apple iTunes installed.
CLICK HERE to see my article “Backup Your iPad or Iphone Using iTunes“.
- Do some cleanup – you never know how much space an iOS upgrade is going to take, so it’s not a bad idea to go through your device and delete old videos, photos, or even apps that you no longer need, just to give you some extra space.
- Have your passwords handy – after any iOS update, you’ll need your Apple password (which is also your iCloud password) to reconnect your device to iCloud.
- Check to see which of your old apps might not work – Starting with iOS 11, Apple no longer supports the user of 32-bit Apps. To see a list of which of your apps are not compatible with iOS 11, open the SETTINGS app, tap GENERAL, then ABOUT, and then APPLICATIONS. (Note that this only works if you currently have at least iOS 10.3 installed)
- Make sure you have a good Internet connection – the best place to do the upgrade is on your own home network, versus doing it with a Data connection when you’re out and about, or trying to do it using public Wi-Fi.
- Plug your device in for charging as you do the update – this is not required, but a good idea, just to make sure you don’t accidently run out of power during the upgrade process.
How do I get iOS11?
To upgrade your device to iOS 11, follow these steps:
- Open the SETTINGS app
- Tap GENERAL and then SOFTWARE UPDATE
- Your device will connect to the internet and check with Apple to see if an update is available.
- If an updates IS NOT available, you’ll see a message that says “your software is up to date”.
If the update IS available, you’ll walk through the following screens to do the update (note that in this example, I’m showing the actual update I did with my iPhone 7).
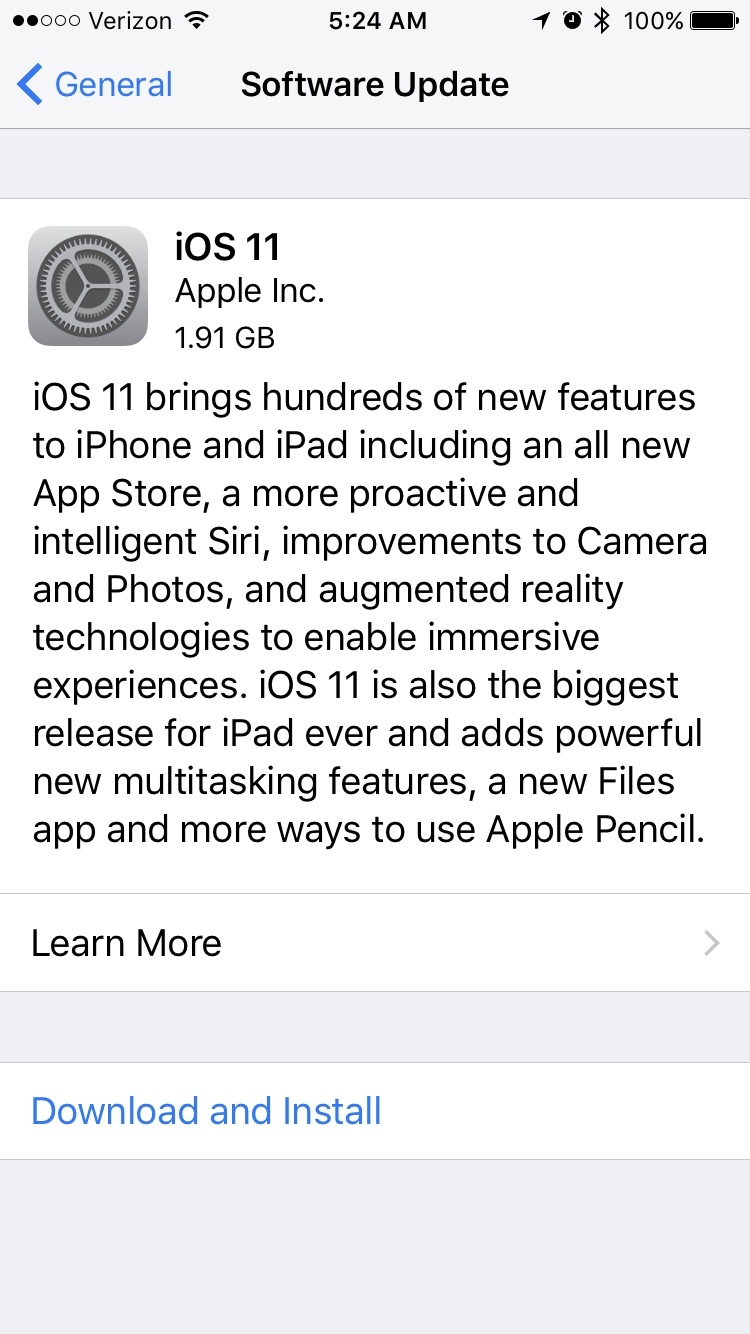
Update Screen 1 – This screen gives you info about the update, including a button you can tap to Learn More. Tap DOWNLOAD AND INSTALL to start the installation process.
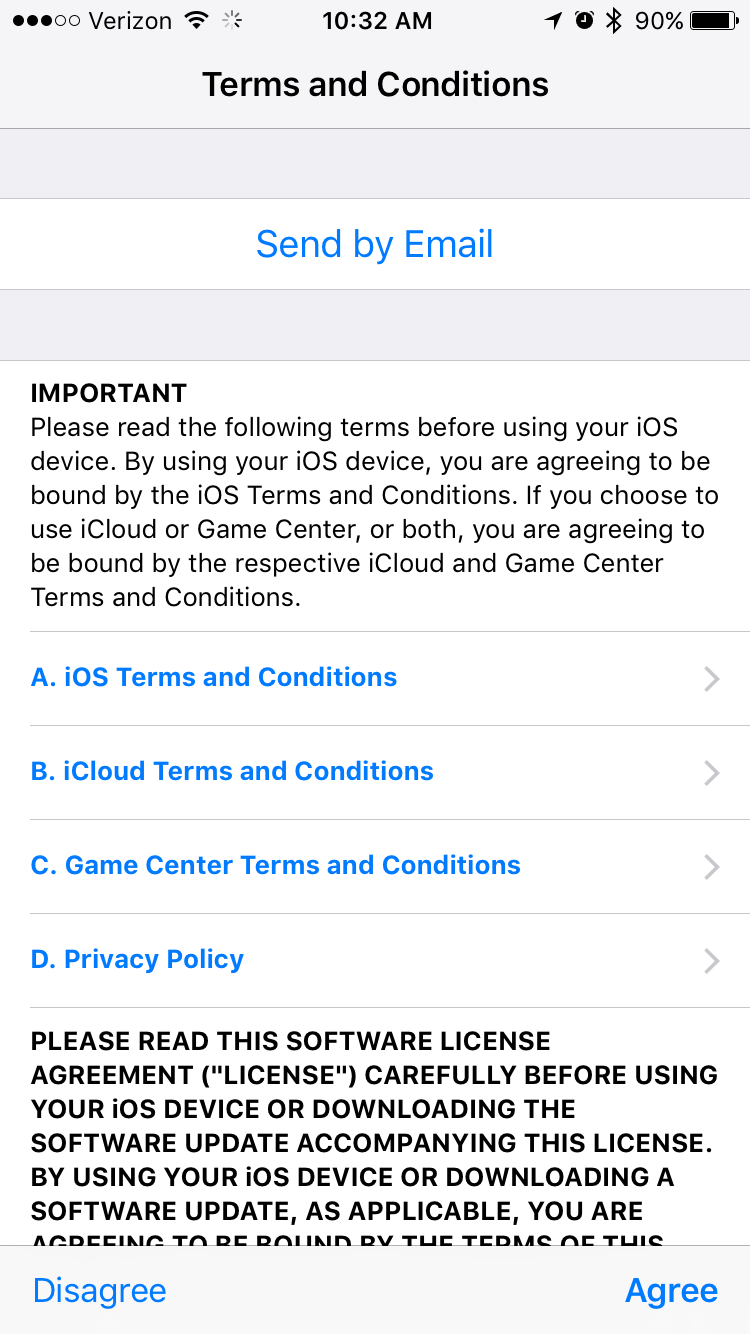
Update Screen 2 – The second screen shows all of Apples Terms and Conditions. Tap AGREE to continue.
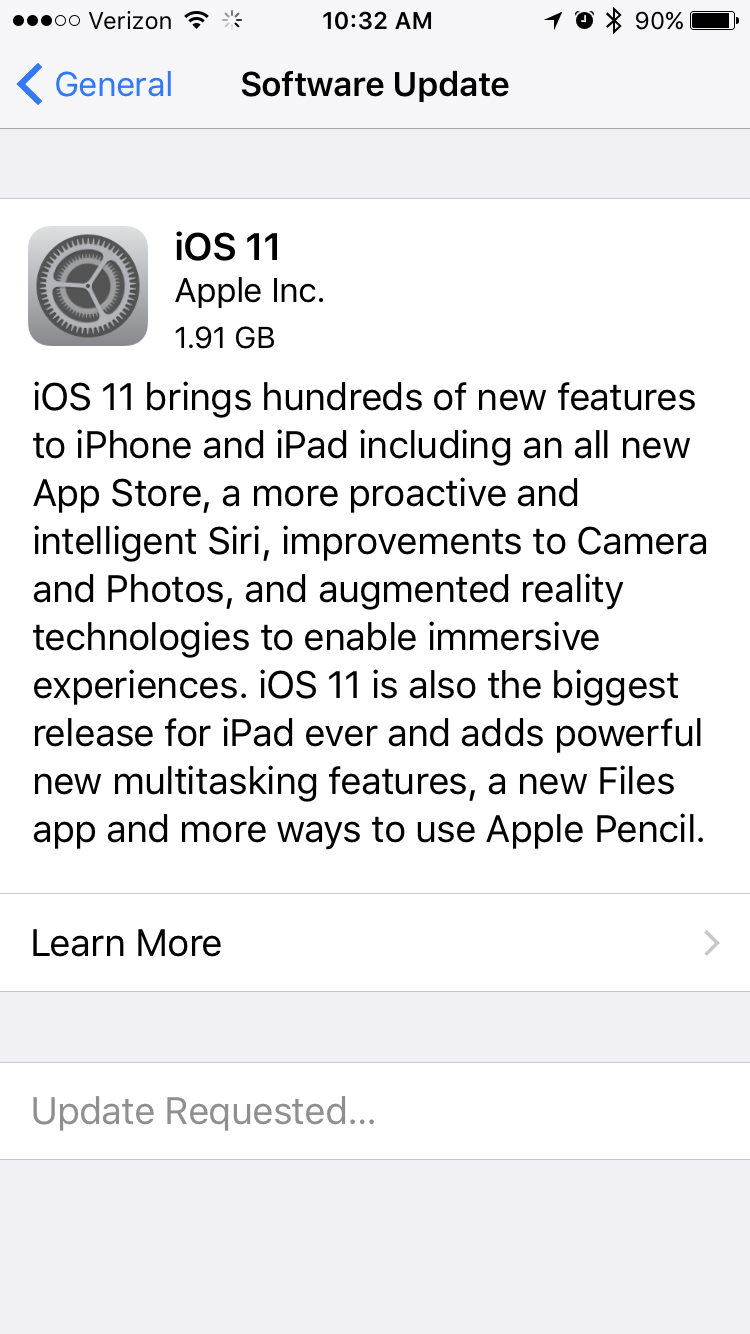
Update Screen 3 – As soon as you tap AGREE from the previous screen, the message UPDATE REQUESTED… will appear as your device attempts to connect with Apple to download the new iOS. Depending upon the traffic volume Apple is experiencing, this may take some time (for me it took about 5 minutes).
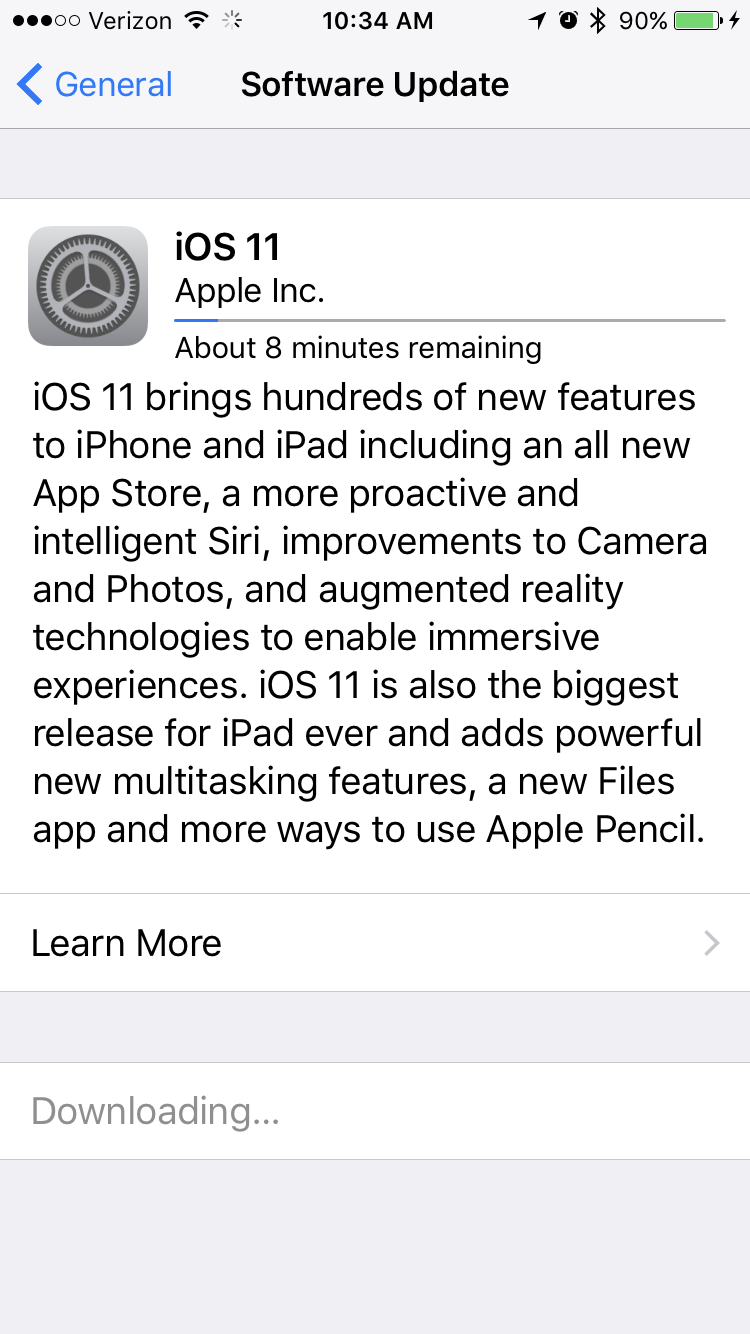
Update Screen 4 – Once the request has been processed, the download will start and the message at the bottom of the screen changes to DOWNLOADING… Also notice at the top of the screen there is a blue progress bar with the amount of time remaining.
Update Screen 5 – As soon as the download completes, a pop-up will appear with INSTALL NOW or LATER options. You must answer this within about 10 seconds, otherwise it will automatically start installing. If you tap LATER, you’ll get additional options on when it should do the update. In my case, I tapped INSTALL NOW.
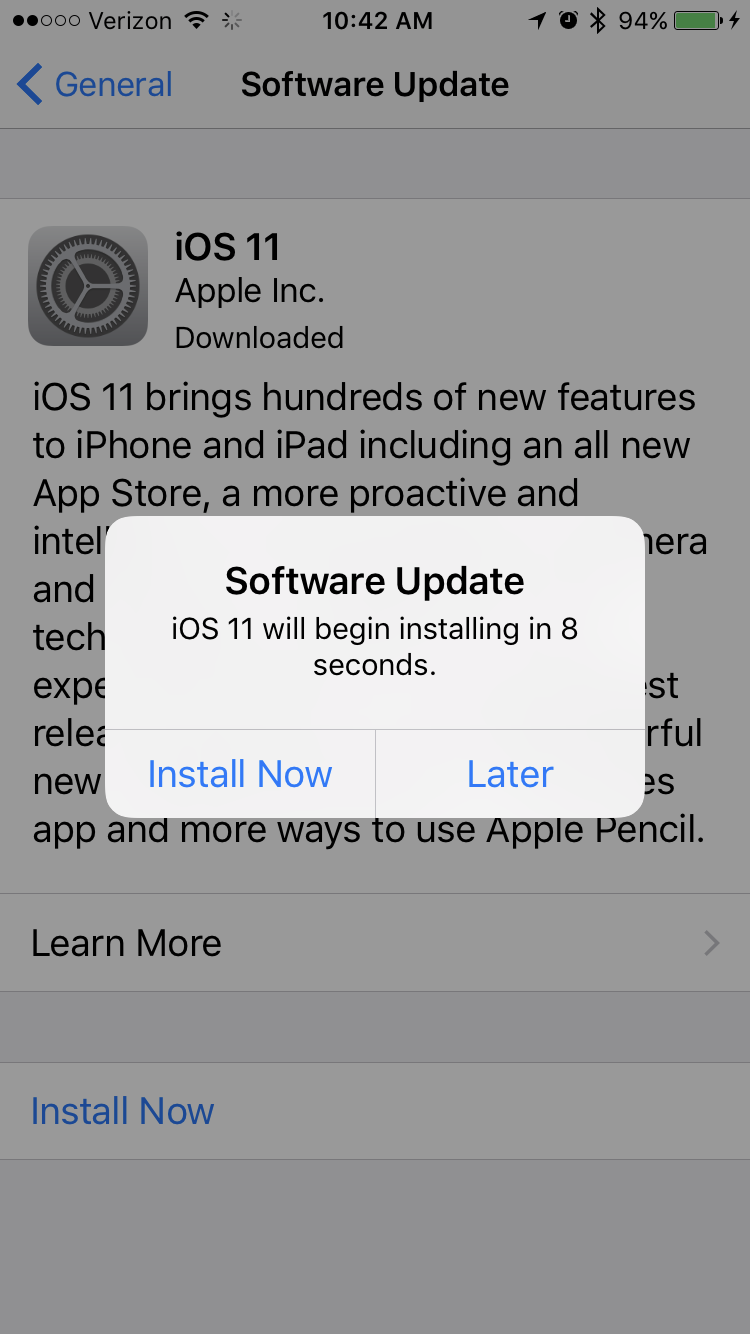
Update Screen 6 – After tapping Install Now, your device will display VERIFYING UPDATED for a few seconds.
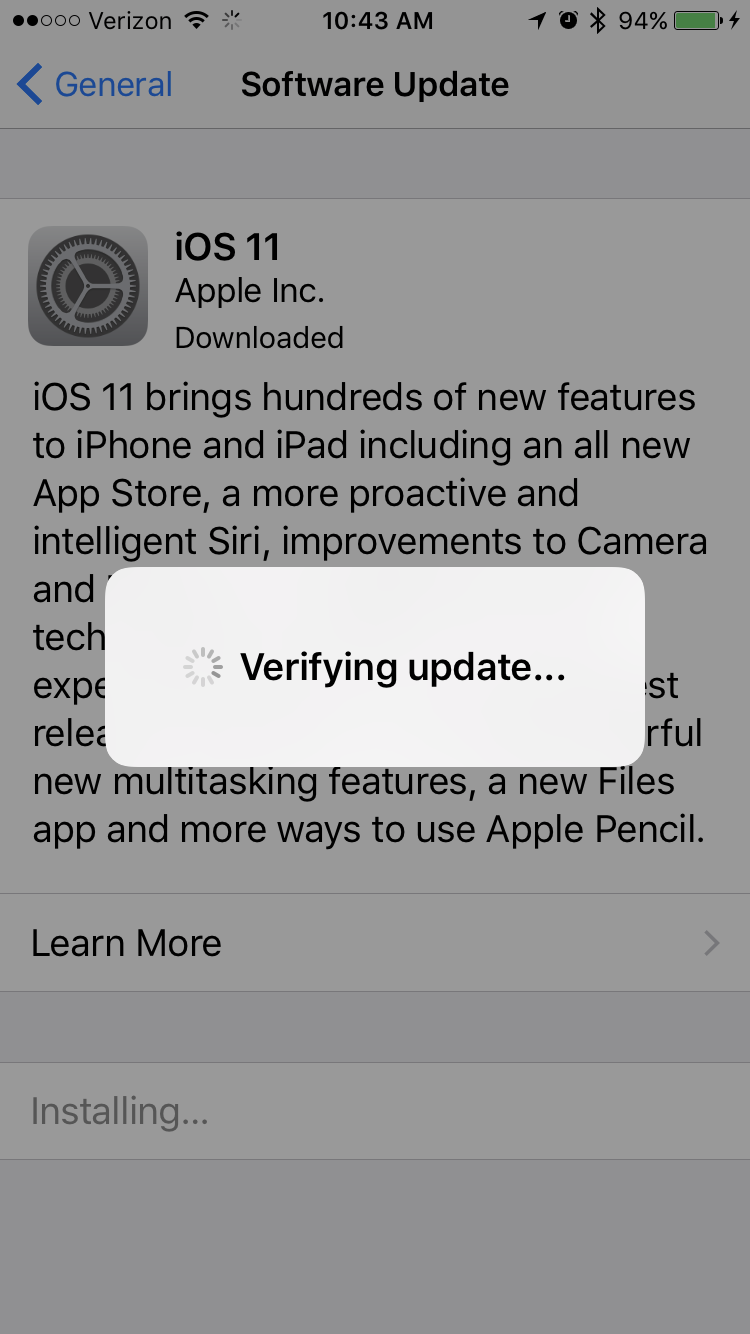
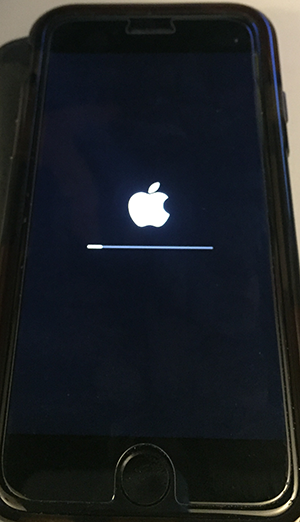
Update Screen 7 – As soon as the update has been verified, your device will reboot (turn off and on), and you’ll see the Apple logo and a progress bar as the update happens. Note that during the update, your device many reboot a few times, which is normal.
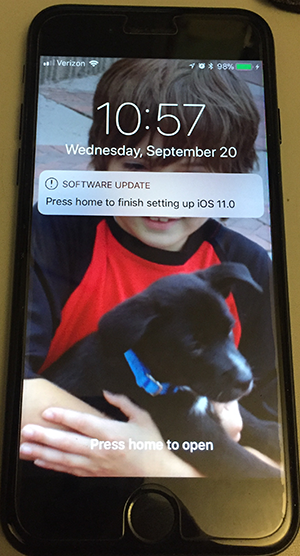
Update Screen 8 – After the update is complete (which for my iPhone 7, took about 10 minutes), your device will restart and you’ll be taken to your normal lock-screen with the SOFTWARE UPDATE message. Press your HOME button to start the setup process.
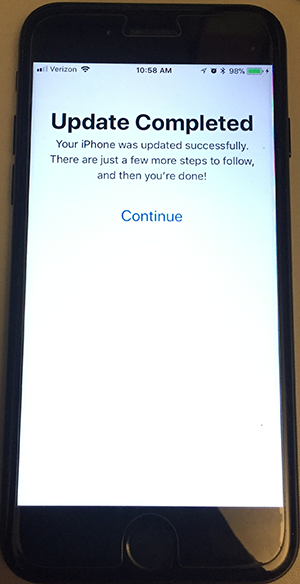
Update Screen 9 – On the first setup screen, you’ll see UPDATE COMPLETED. Tap CONTINUE to move on.
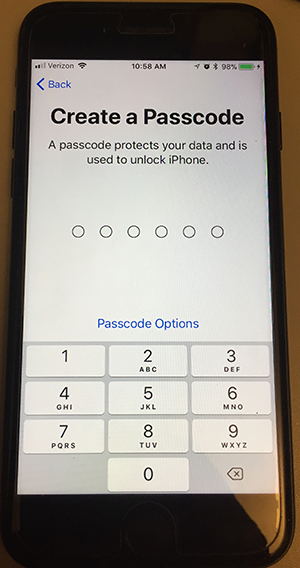
Update Screen 10 – Apple next asks you to CREATE A PASSCODE. You can do this by typing in the code, or if you tap PASSCODE OPTIONS, you’ll see a choice of skipping this for now. Even if you do create a passcode, you can turn it off in the Settings app, or if you decide not to, you can always add one later.
Update Screen 11 – Asks you to enter your current Apple ID. Do this and tap NEXT at the top right corner.
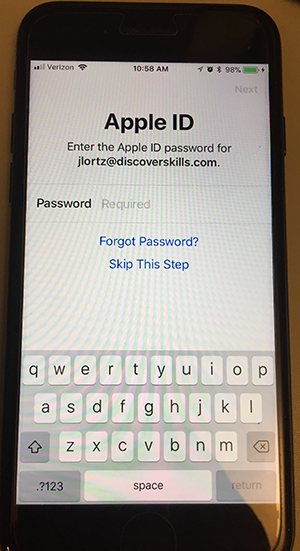
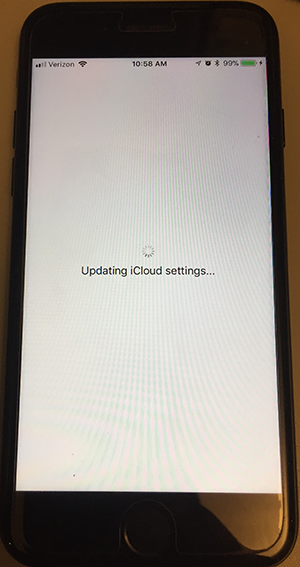
Update Screen 12 – After entering your password, you’ll see a message saying “UPDATING ICLOUD SETTINGS”. This may take some time. Once it’s done you’ll move on to the next screen.
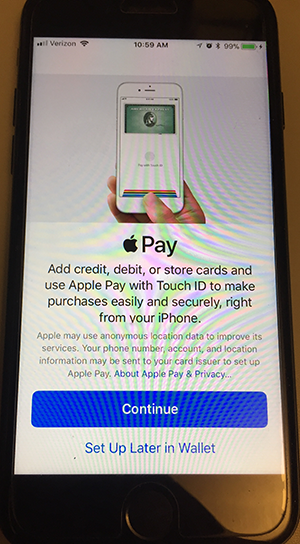
Update Screen 13 – The next screen asks if you want to setup Apple Pay, which you can also just do later. In my case I tapped SET UP LATER IN WALLET.
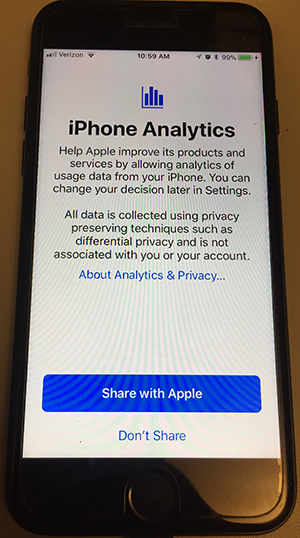
Update Screen 14 – Apple next asks if you’ll participate in iPhone/iPad Analytics, where your device will send Apple information, basically for marketing purposes. In my case, I chose DON’T SHARE (why let Apple use my bandwidth?).
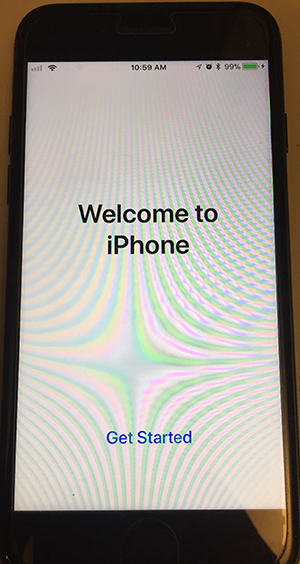
Update Screen 15 – The final screen just welcomes you. Tap Get Started to be taken to you Home screen where you can now start using your device.
Some final thoughts
As of this writing, I’ve updated two of my devices to iOS 11.0, and in both cases, the update process went smoothly and only took about 30 minutes.
Still, as I said earlier, unless you feel adventurous, I’d wait a few days or even a week before updating, just to see if there are any major issues that Apple needs to address with a quick, minor upgrade.
And of course, if I have any problems, I’ll be sure to post them here!
Happy Upgrading!


I had a great question one of my students asked via email, that I wanted to include here…
This is From Dave…
Hi John,
Thanks for the info on the #11 iOS update. I “discovered” that my little-used iPad 2 was not on the list. Just for the heckuva it, I opened it to see if there were any pending updates. I was messaged that I was current even though my last update is 9.3.5.
Could you please amplify your comments about what it means when your Apple device is no longer supported? Thanks.
My Response…
Hi Dave:
What Apple does over time as they develop newer OS’s, is drop older devices off the update list because the hardware they have won’t support some of the new programming. When this happens, your device gets “stuck” at the latest update for whatever version still supports it. In the case of your iPad 2, that was version 9.3.5.
The good news is… with most iOS versions (like 8 or 9), the updates during their life fix most of the problems, and so for example, version 9.3.5 is “mature”, meaning that it’s a version that probably has few, if any, bugs left.
And as long as you can continue to successfully do what you need to with your iPad 2, and you’re happy with it, why spend the money to upgrade to a newer tablet?
FYI… we have an iPad 2 that we still use around the house. I actually, purposely stopped upgrading it when iOS 7 came out, because I was noticing it was getting slow. That sometimes happens with older devices as new iOS versions are released.
Our iPad 2 still does everything we need it to do (we use it for music creation and some games).
But again, if your’re happy with how your iPad 2 is working, don’t worry that your now stuck at iOS 9.3.5.
Let me know if you have any other questions!
Your newsletters are very helpful. The way you present information makes it is easy to follow. Thank you so much.
Hi Deb…
Thanks so much for the kind words. I’m glad you find the information useful! That’s what it’s all about for me!!!
Take care…
John Lortz